#1: The Growing Process
Of course, cannabis flower doesn’t simply appear. There are several stages of growth your cannabis plants must navigate before they are ready for harvest. While the steps you take during drying and curing will certainly have an effect on the end product, it’s critical that you take the steps to grow a healthy, high-quality plant first as you can’t fix rotted or low-THC bud with drying and curing.
After cloning or germinating, cannabis plants go through a series of changes before they reach full maturity. They will begin developing their root system and putting energy into sprouting new leaves. Typically, after about 2-3 weeks they are ready to enter the vegetative stage.
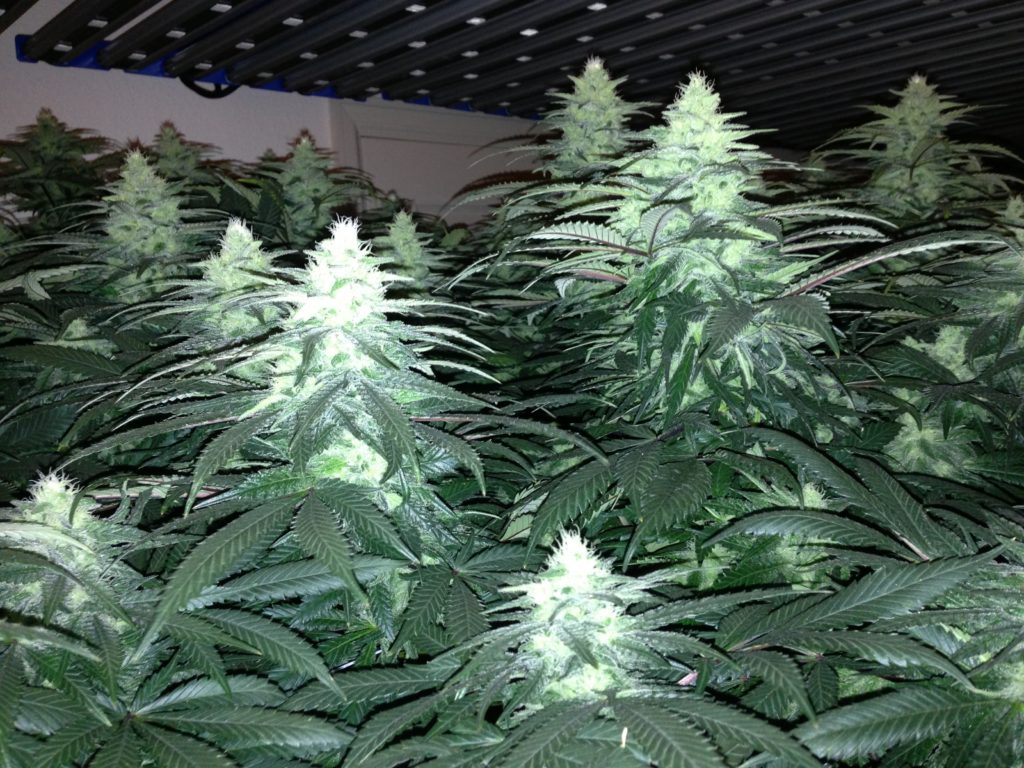
During the veg stage, they will elongate, develop fuller leaves, and further establish their roots. After they are mature enough to support bud production, introducing a 12/12 lighting schedule will stimulate them to enter the flowering phase. Once the buds (the flower) are fat and sticky with THC-rich trichomes, they are ready to be harvested. But harvesting is only the first step in prepping your bud for consumption.
#2: Trimming and Harvesting Flower
Unlike picking apples from a tree or tomatoes from a vine, harvesting cannabis is a time consuming, multi-step process. First, you will need to cut branches from the plant. You will also need to separate the buds from the branch, a process known as “buking.” Finally, you will need to further manicure the buds to remove any remaining plant material and to break them into your preferred sizes of nugs. You will have to decide whether you want to buck and manicure your buds right away or wait until the whole branch has been dried. The difference is known as wet trimming vs. dry trimming.
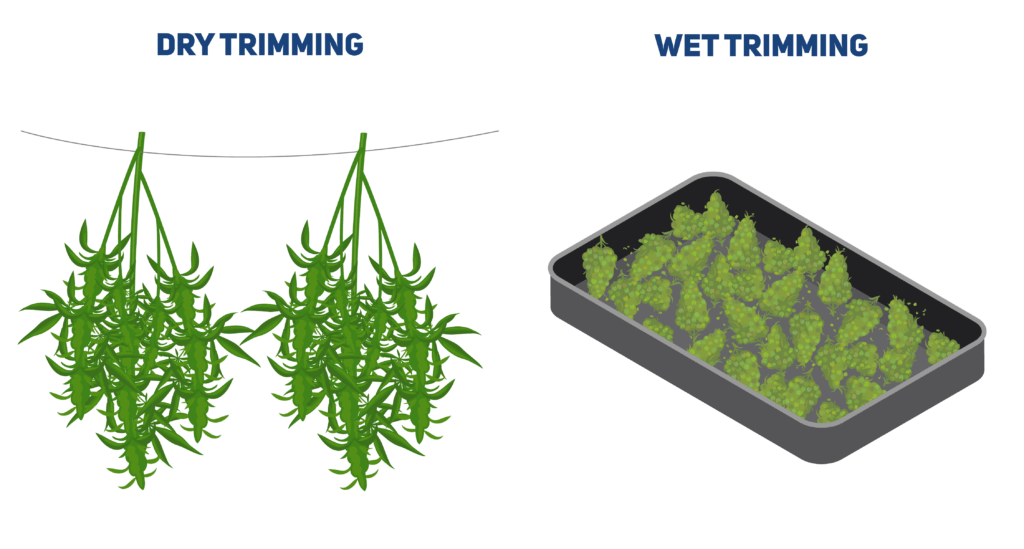
Dry Trimming: The branch is dried before bucking and trimming. Whole branches are cut from the plant and are hung to dry, living plant material and all. Some growers prefer to remove the fan leaves, some do not. Then, the nugs are carefully trimmed off and ready to be cured.
Wet Trimming: Bucking and trimming take place before drying. The branches are removed, and the live buds are immediately stripped from the stalk and manicured while still moist. Then, they are placed onto drying racks before they are ready to be cured.
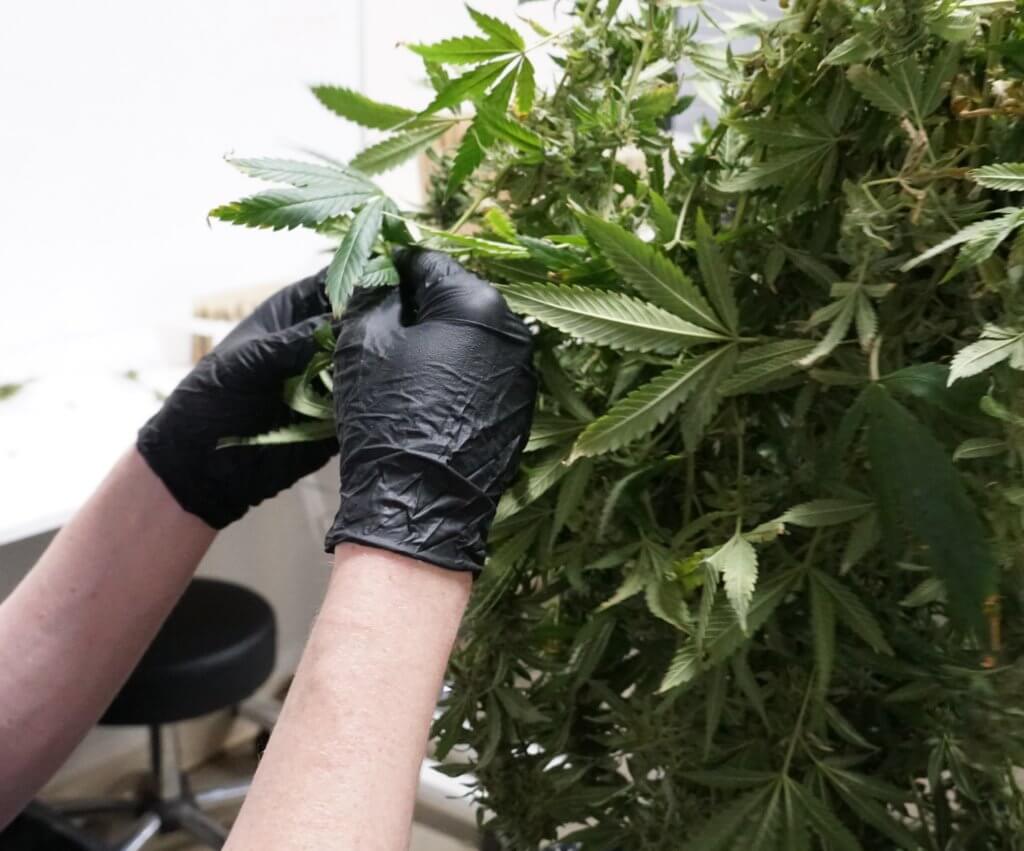
Both processes involve the same tasks, although the order in which trimming and drying take place can have an effect on the labor required of the trimmers, drying time, coloring, and even potency. No matter what, trimming is labor intense. Hand-trimming keeps the trichomes intact and produces better-looking bud than machine-trimmed, but it takes more time and requires more work. Some large-scale growers hire trimming companies during harvest, although they tend to charge around $200/pound.
#3: Drying Cannabis Flower
Every grower has their own magic recipe, so it is up to you which drying method you prefer. If you are just starting out, you should test different methods to find which one works best for you. If you are planning to grow on a commercial scale, your head grower should help determine your drying process, desired parameters, estimated time in dry, and estimated wet weights of plant material for each dry room early on in development. This will give your HVAC design team necessary information to base their engineering plans on when designing your drying room(s) to ensure optimal temperature and humidity for perfect buds.
Need HVAC for your grow operation? Contact us!
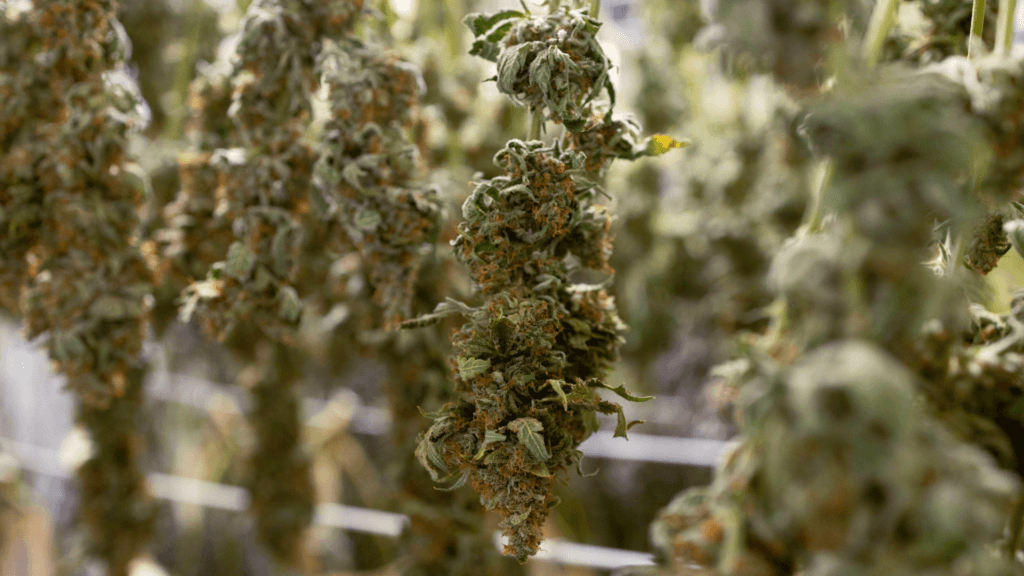
Dry Trimming: After harvesting, hang your branches to dry. This can be achieved using hanging lines, clothing hangers, or drying racks. At the end of the drying process, the leaves will become brittle, and the branches should be able to snap.
Wet Trimming: After harvesting, place your buds in a drying rack. To evenly distribute the drying process, be sure to regularly rotate the flower and provide ample airflow around the rack.
You can tell if your flower is ready for curing by giving it a gentle squish between your fingers. It should be spongy and still a bit sticky. If it feels wet or moist, it needs more time to dry. If you are dry trimming, the flower is dried if you can snap the branches rather than them bending. If you have doubts, you can always place a nug in a small container and return in a few hours to check if any moisture has collected. If there is moisture, your buds need a longer drying period.
Best Conditions to Dry Cannabis
- Humidity: 45-60%
- Temperature: 60-72°F
The ideal environment for drying cannabis will be cooler and less humid than the earlier stages of the plant growth cycle, but still warm. Remember that changing your climate control conditions too dramatically could cause your buds to dry out too quickly which will make them brittle and bitter tasting. You want your flower to dry gradually over a 1-2 week period to maximize taste and quality while removing moisture.
Also, now that your cannabis no longer needs to transfer light energy into plant energy, you do not need to provide your dry room with special grow lighting. In fact, we recommend keeping your dry room dark, since light can actually begin to damage your cannabinoids.
Perhaps just as important as your humidity and temperature parameters is the use of proper ventilation. Especially if you are drying on a larger scale, you will need to ensure there are adequate fans and airflow to provide a homogenous drying environment, without excessive airflow in any one area of the room.
The Difference Between Drying and Curing Cannabis Flower
“Drying and curing” are usually lumped into one process as they both play a role in the preservation of harvested buds. However, there is a distinction between the two.
As the labels imply, “drying” refers to the process of removing moisture from the flower, whereas “curing” refers more specifically to controlling the flower’s exposure to air as excess sugars and starches are broken down.
#4: Curing Your Buds
Once properly dried, move your buds to a container for curing. The container you choose is up to you, although common choices include jars, buckets, bins, and even specialty curing containers. It is important that the container you select is airtight with a lid. This will allow you to lock in moisture to avoid over-drying and preserve the developing flavors and aromas.
Fill the container about 75% full before sealing. The remaining air will help facilitate the breakdown of excess sugars and starches that could lead to a bitter taste. Eliminating these compounds also helps prevent the development of mold and bacteria, further preserving the flower and extending its shelf life.
Finally, monitor your buds throughout the curing process. Regularly check them for mold development and move them around in the container for a more even cure. This is known as “burping,” as periodically removing the lid allows building gases to escape and be replaced with fresh air. Here is a quick guide for burping.
Weeks 1-2 | Burp once every 12-hours |
Weeks 3-4 | Burp once every other day |
Weeks 5+ | Do not burp |
It is up to you when the curing process is completed and the bud is ready to be packaged and smoked. Cannabis production is both art and science, and there is no definitive marker of the end. Until they’ve developed a tried and true system, growers usually periodically test their flower until they are pleased with the results. Curing usually produces a smoother, more enjoyable smoke, so of course it is up to your discretion.
Best Conditions to Cure Cannabis
- Humidity: 50-60%
- Temperature: 60-75°F
As with the drying process, you will want to carefully control your environment while curing. High humidity will allow mold to take root, ruining your harvest just before you’ve reached the finish line. Too little humidity, however, will dry out the flower.
Again, light should be avoided. Growers using plastic, metal, or otherwise opaque containers may not need to worry as much about light penetration as those who use glass curing containers, although they will not be able to check their hygrometers (which measure humidity levels) without removing the lid.
Benefits of Properly Drying and Curing Your Buds
Proper curing can have many benefits for the consumer including better tasting buds as well as an increase in potency. Proper drying releases the terpenes and cannabinoids from the plant, which is a difficult process that can be lengthy. Properly dried cannabis will have more flavor and aroma than improperly cured cannabis.
Drying also helps prevent mold growth by removing excess water. Mold spores thrive in moist environments, so if you’re not careful about keeping your cannabis properly dried, it’s easy for them to grow.
The key to successful cannabis curing is monitoring your drying process from start to finish; it’s vital that you know what needs attention and when it needs it.
How Long Does Drying and Curing Take?
Typically, the drying and curing process will last about 2-6 weeks. However, it can last as long as 6-months for the connoisseurs out there. There are a few factors that will help determine your timeline.
First, temperature plays a big role. If the room where you plan to cure your cannabis is too cold, your flower may not dry fully. Conversely, if the room is too warm, the plant may overheat and dry prematurely.
Of course, humidity is another major contributing factor. High humidity environments encourage mold growth and impair transpiration, which slows drying time. Use air conditioning and/or dehumidifiers during the drying and curing process to properly control your environment. In some cases, humidifiers are also advised to ensure that the humidity doesn’t drop too quickly a few days into the drying cycle.
Some growers use drying and curing machines to speed up the drying process and to maintain precise control of the environment. These come in a wide range of sizes and technologies, and varying degrees of success according to testimonials. If this is an option you are considering, be sure to do your research and select the option that best suits your needs.
And of course, the total length of your curing time will be based on personal preference. Some growers prefer an extended curing period, claiming that it offers a smooth, high-quality smoking experience. Others don’t feel that the longer wait makes much of a difference.
Common Problems During the Curing Process
It’s important to remember that curing cannabis is not a “set it and forget it” process; buds need to be checked often. At regular intervals, drying containers are “burped,” letting gases like ethylene and CO2 escape and oxygen to enter.
Especially in the early stages of curing, it’s important to check the buds for mold. If you see mold, you will most likely need to discard that batch.
Another sign to be aware of when curing cannabis is the smell of ammonia. An ammonia smell, or the smell of freshly cut grass, indicates that the chlorophyll is decomposing, meaning there is too much moisture. This can suggest that the curing process is not yet completed, and that you should continue with periodic burping. If you do this, carefully check your buds for signs of mold or mildew, and do not consume the product if it still smells of ammonia.
Can You Over-Cure Cannabis?
Yes, you can over-cure cannabis, but only if you’re not careful. Over-curing essentially means over-drying. Properly cured cannabis will still be spongy and sticky, but not wet. Drying your flower too quickly will cause it to become too brittle and harsher to smoke. This can also cause your cannabis to lose some of its potency and aroma.
What Are the Consequences of Under-Curing Cannabis?
Under-curing can cause a loss of potency in your cannabis and can lead to less-developed flavors. Under-drying can lead to more serious problems like mold and mildew growth. Smoking mold-contaminated flower can cause serious health problems, not to mention it won’t taste or smell very good.
If you are growing for personal use, thoroughly inspect your buds for mold before consumption. If you are growing with a cultivation license, moldy product could have serious repercussions on your business, so precision and quality control are equally as important.
Does Weed Go Bad? What to Look for and Storage Tips
Yes – even cannabis that has been properly dried and cured has a shelf life. Products sold in dispensaries are required to provide an expiration date for this reason. Typically, the shelf life of cannabis flower is about a year from packaging.
If you aren’t sure if your flower is still good, look for changes in smell, texture, taste, and appearance. Stale weed may become odorless or musty, dusty and brittle, harsh-tasting, or even mushy and moldy.
Proper storage is the best way to preserve the quality of your cannabis after curing. Store in an airtight, resealable container located in a cool, dry, and preferably dark place. You can also maintain an optimal humidity of around 60% with the help of humidity packs or humidors. When storing for personal use, be sure to store your supply in an area where it cannot be reached by children or animals.


