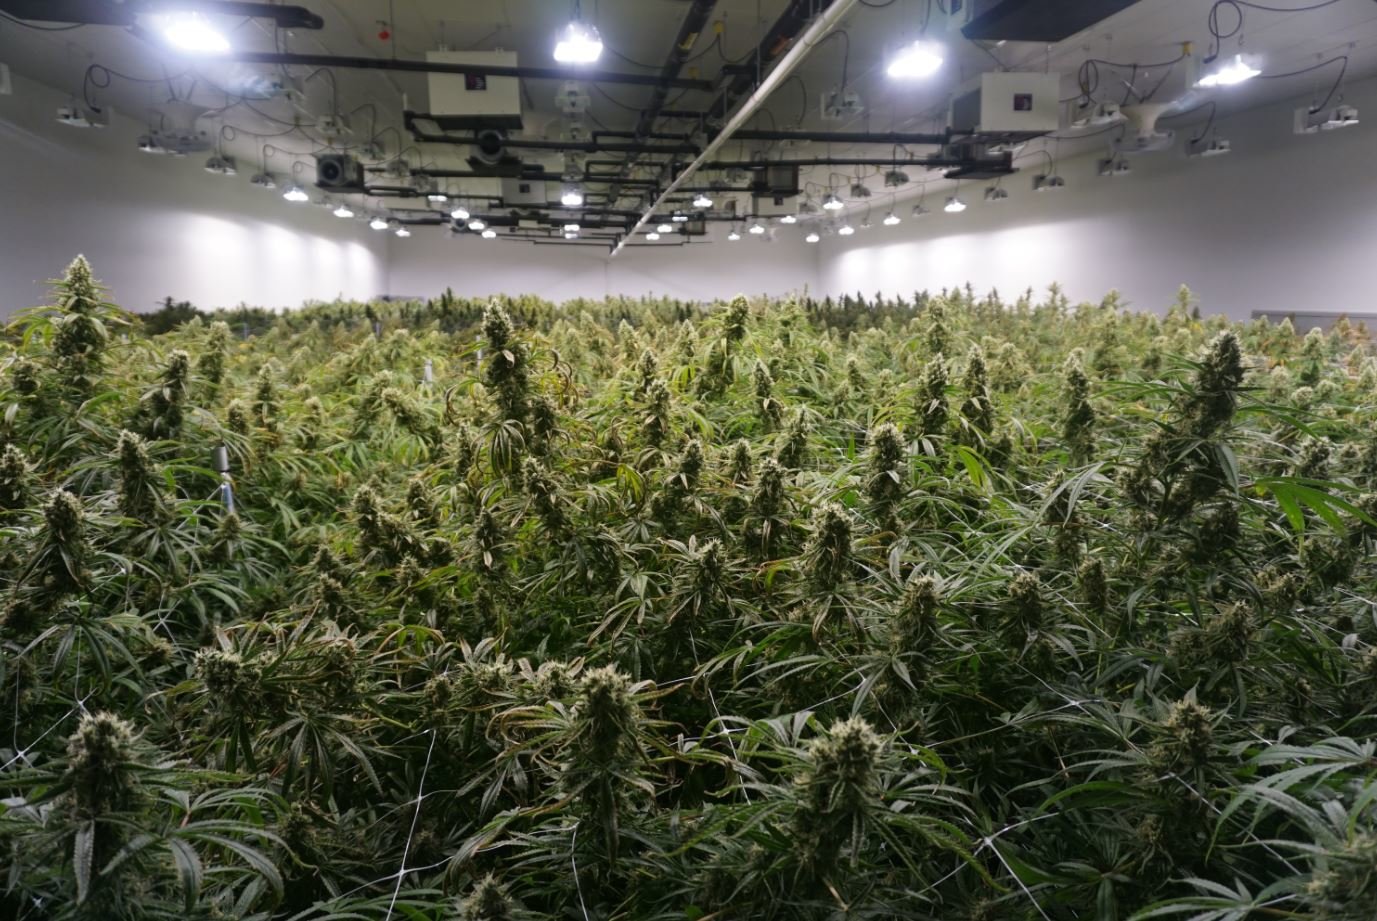
Many Cannabis genetics naturally grow tall with one large bud on top and a smaller cola on the end of each branch. This growing method is successful outdoors because the sun moves across the sky throughout the day, allowing each branch (and bud) to receive light. However, when growing indoors, and to a lesser extent in greenhouses, this does not happen because the lights are stationary above the plants, never fully lighting the sides. Additionally, when growing indoors, it is important to keep the plant canopy as even as possible due to diminishing light intensity as the flowers get further from the light source (see: Inverse Square Law). This is not a problem for sun-grown cannabis as the sun is so far away that a few extra feet doesn’t make as much of a difference. For growing indoors, however, trellising is an effective technique for providing light to all bud sites.
Furthermore, trellising creates an even plant canopy by gently bending the stalks and providing structure to grow them sideways instead of vertically. The main purpose of trellising is to mimic the even footprint of available light outdoors by bringing all of the branch’s top nodes to nearly the same distance from the light source. By doing so, some growers have seen increased yields of up to 30%.
Trellising happens in the Flower Room; once a plant has been trellised it will be difficult to move. Start prepping your plants for trellising in Veg by pruning them, shaping the plant so it is easy to spread out on a screen. Once the plants have been moved to Flower, follow the steps below to effectively trellis your cannabis plants.
1. When plants move into Flower, install trellising above them.
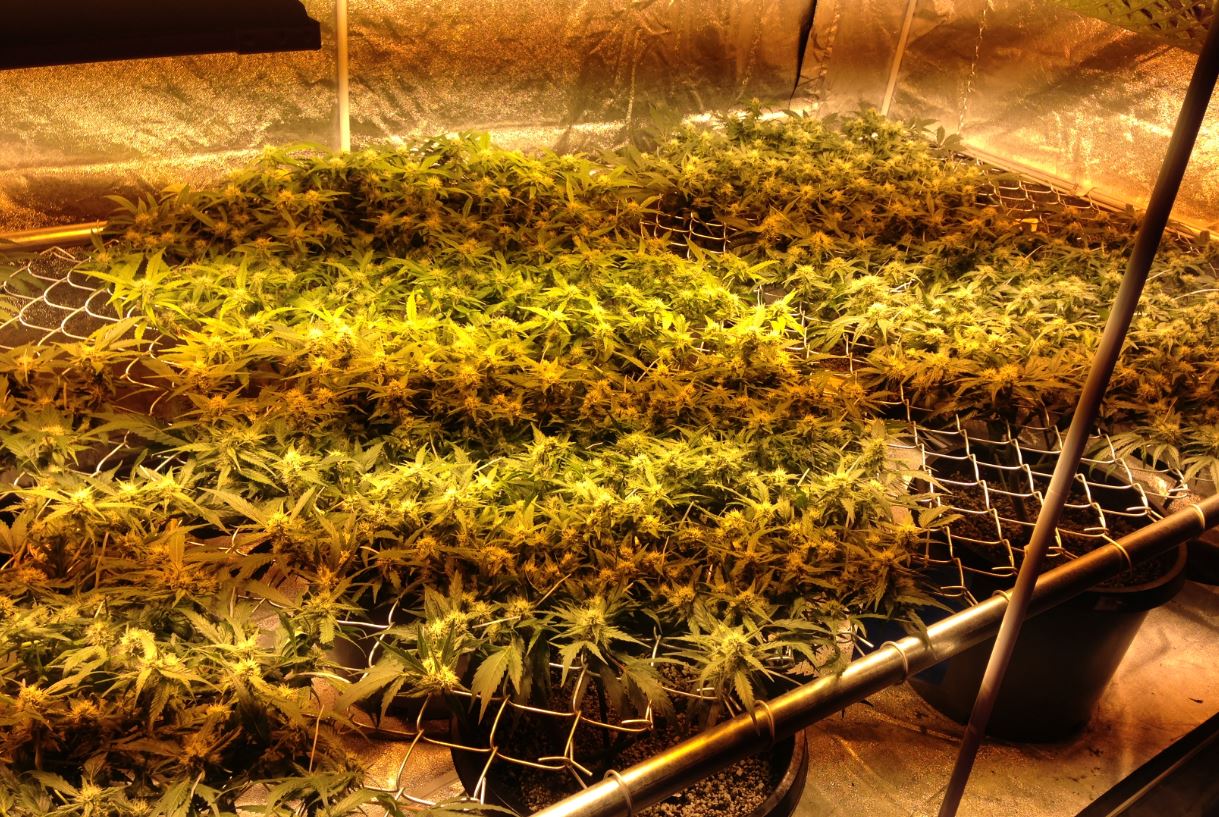
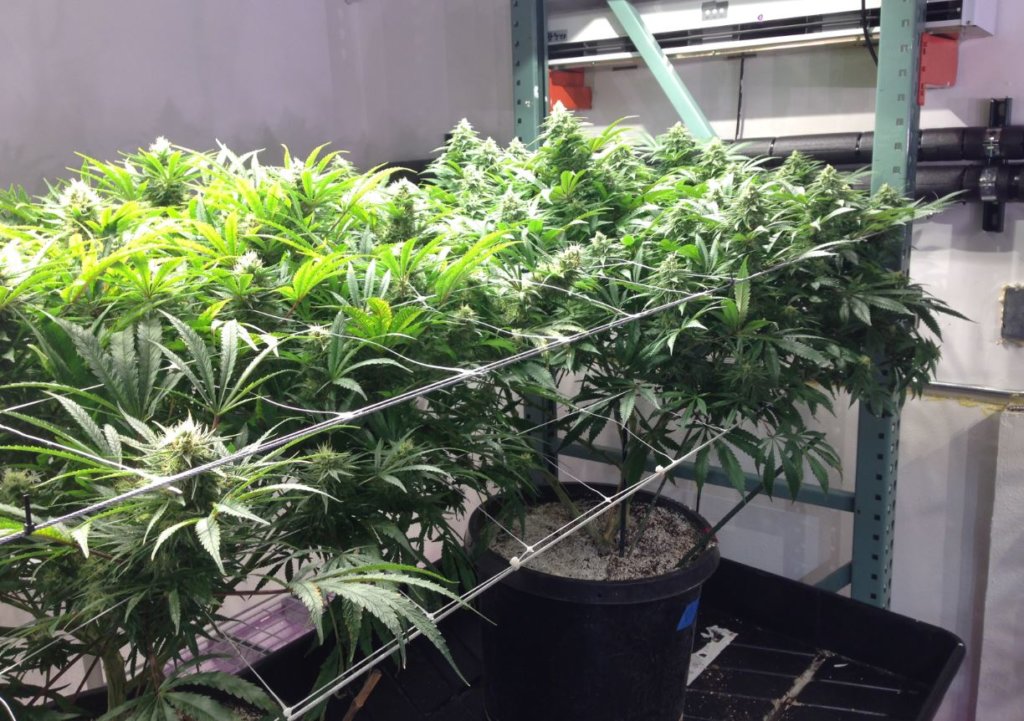
Use extruded or molded plastic netting, nylon string, or anything similar to create a solid structure to support the plant. Avoid thin string/wiring (such as fishing line, etc…) as it may cut into the plant tissue. The idea here is to create a grid of holes to weave branches and buds through in the next step. Ideally, you’ll want to have a single bud site per 6″x6″ hole in the grid. Chain link fencing is a great, reusable way to accomplish this, but it can cost up to 75 times as much as plastic options.
2. Weave the branches of the plant through the trellis netting.
The branches should have been grown to be long and lanky so that they can be bent onto the trellis. The branches should bend when pinched with your fingers. Don’t worry; this pinching won’t hurt the plant. While it is capable of healing itself, still be sure not to snap the branch. Once bent, it will be possible to weave the branches as needed. As the plant continues to grow up towards the light, bend and weave it down into the trellis netting to fill any gaps.
Learn More: Licensed MEP Engineering | Surna Cultivation Technologies

3. Position the branches so there is a single bud site in each hole of the trellis netting.
The trellis will create a grid with holes that are typically 6”x6”. Once the plant has been bent onto the trellis, buds will form in the plant canopy over the top of it. Keep an eye on these developing bud sites and remove any extra buds that appear. Remember, the goal is a single bud per hole. Removing extra buds will help the remaining ones to grow larger.

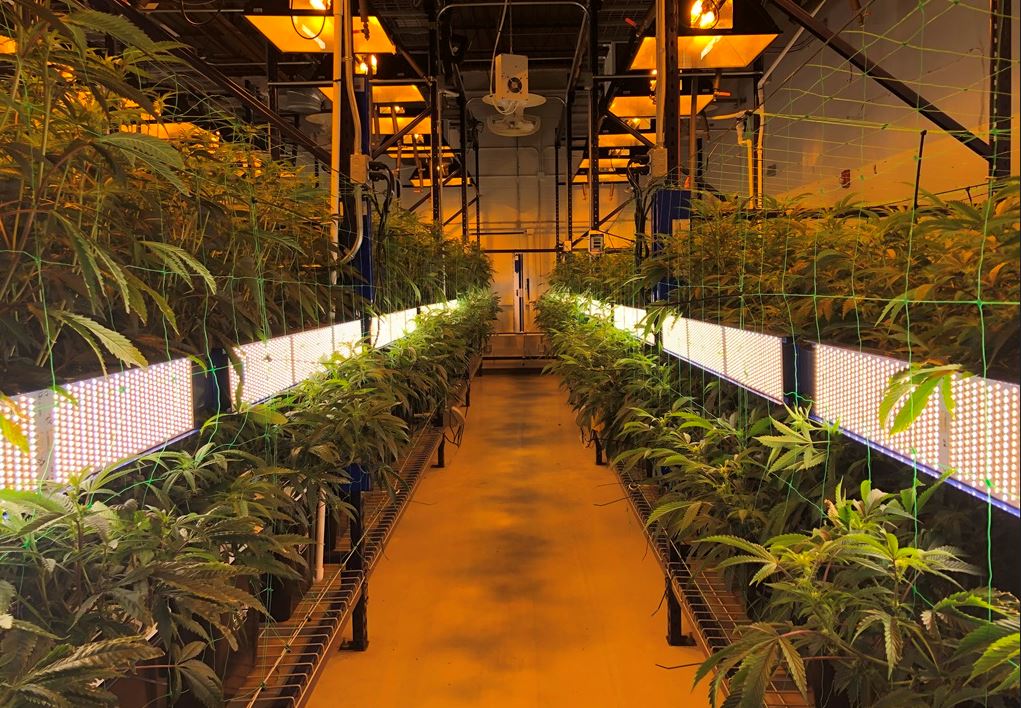
4. If desired, create a side canopy (use vertical trellising on each side) and repeat steps 1-3 for each side.
When creating a side canopy, be sure to include vertical lighting to provide light to the bud sites on the side of the plant.

Trellising a cannabis plant can have a large impact on the final amount of product produced. Maximizing the use of available light and ensuring all buds are on an even level will result in large, evenly sized buds across the entire plant canopy. Maximizing the its resources allows the plant to produce at its maximum capacity.


